Guangzhou Guomat Air Spring Co., Ltd. is located in Guangzhou, about 15min’s drive from Baiyun Airport.
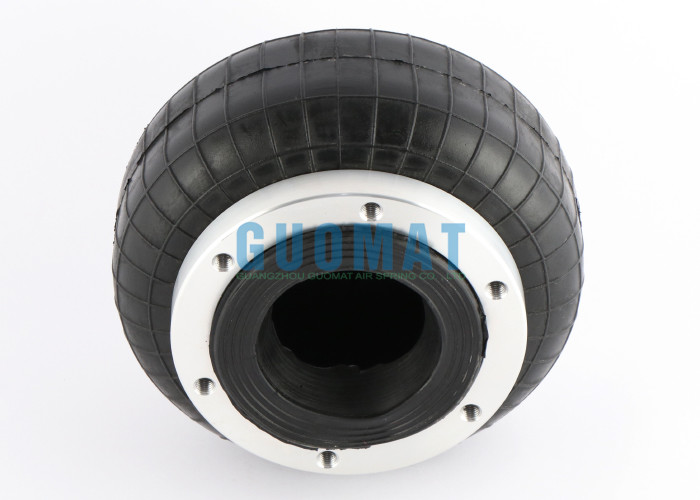
Our mainly products are air spring, rubber bellows, air suspension
spring, air suspension compressor and refitted suspension system.
They are widely used in bus, truck, cabin, vehicles’ seat,
luxurious car and industrial machine field.
GUOMAT Factory gate:
Established in 2008, Our company covers 20,000㎡ and is located in
Taihe Town Baiyun District. With the rapid development of our
company, we are equipped with modernized workshop and advanced
rubber air springs equipments now. We are the first company who
started air spring business and has become one of the largest air
spring manufacturing bases in China.
In 2017, we launched a collaboration with High Tech of US customers
to customize the products of our customers and the logo of our
customers. Every year, there are about 10,000 orders. In continuous
cooperation, the products meet the international inspection
standard ISO/TS16949:2009, and the customers are very satisfied
with the products produced. This is our high recognition from
American customers and also gives us Great motivation.
In 2018, we started cooperation with German GmbH, mainly industrial
air springs, which are suitable for industrial equipment. We have
successfully developed and produced the natural air-seal of the
skin to reach the 700mm flanged air spring, the customer's annual
demand is a few hundred.
With the development of business and demand for customers, our
company introduced business with TomLog Corporation in 2010, our
strategic cooperative partner in Taiwan. Then we developed air
compressor program and air spring related business, in 2015,
America Goodyear Corporation met with the transfer of shares in the
North American plant, our company was granted with sale agent for
air springs in China, providing more choice for our customers. Our
company adopts the most advanced domestic air spring processing
equipment and international production technology. Combined with
unique production process, our company strictly execute
international standards for production and spare no efforts to
create the world-class products. We will endeavor to make air
spring widely used at home and abroad, and let more and more
customers to enjoy the best damping effect.